Thoughts, Tidbits and Tips

How I Use Waves MaxxAudio to Hear Every Detail in My Music 

I'm always chasing the perfect mix. Here’s why I keep Waves MaxxAudio in my back pocket—even when I’m away from the studio.

What Is Waves MaxxAudio?

As someone who lives and breathes music, I’m always on the hunt for tools that help me make better decisions—whether I’m in the studio or mixing on the go. Waves MaxxAudio is one of those underrated tools that’s been quietly helping me fine-tune my sound, especially when I’m not in front of my full setup.

If you’re not familiar, Waves MaxxAudio is an audio enhancement suite that usually comes pre-installed on laptops—especially Dell models. Unlike the full Waves plugin suite I use when I’m producing tracks like “Mistakes” or “Identity,” MaxxAudio is lightweight and made for real-world listening: laptop speakers, headphones, and those in-between moments when inspiration hits and you don’t have a full control room.

What Does It Actually Do?

Waves MaxxAudio comes with tools like:

  • MaxxBass – makes bass feel bigger without getting muddy
  • MaxxTreble – adds clarity to the highs
  • MaxxDialog – helps vocals stand out
  • MaxxVolume – evens out the loud and quiet spots
  • 3D Stereo Enhancement – makes the mix feel wider and more immersive

These features help me hear details I might otherwise miss when I’m checking a mix on the fly. Sometimes I’ll bounce a track I’m working on—like “Free”—to my laptop just to get a different perspective. With MaxxAudio, I can dial in the feel of the song without second-guessing what I’m hearing.

Why I Keep It in My Toolkit

I use the full Waves Ultimate bundle when I’m producing in my studio. But when I’m traveling, writing in a coffee shop, or just doing a casual mix check with headphones, Waves MaxxAudio gives me a quick, reliable boost. It’s not about replacing pro tools—it’s about augmenting your everyday workflow.

I’m obsessed with getting the mix right. Whether I’m in the studio or walking the beach with headphones, I want to feel every layer. MaxxAudio helps me hear the details, even when I’m far from my gear.

That kind of clarity makes all the difference. It’s why Welcome to the New Frontier hits hard on both high-end monitors and standard earbuds.

Should You Use Waves MaxxAudio?

If you’re:

  • Mixing on a laptop
  • Traveling often
  • Listening critically on headphones
  • Wanting to hear your music more clearly, period

…then yeah—you should definitely check it out. You might already have it installed and not even know it. Just look for it in your system tray or audio settings if you're on a Dell or ASUS machine.

Final Thoughts

Waves MaxxAudio might not be flashy, but it’s one of those tools I lean on when it counts. Music isn’t just about making something sound good—it’s about feeling it. And sometimes, a subtle shift in clarity is all you need to reconnect with the emotion behind the track.

Whether I’m crafting the next Tony Oso song or just giving a rough mix the car test, MaxxAudio helps me hear the truth in the track.

Telecaster vs Les Paul: What 15 Years Playing Both Taught Me About Tone 

People ask me about this more than almost anything else.

Which guitar should I get? Telecaster or Les Paul? Which one is better for rock? Which one records better? Which one sounds better live?

I've been playing both for over 15 years and I'm going to give you the most honest answer I can, which is that the question itself is a little bit of a trap. But I'm also going to tell you everything I know about how these two guitars actually behave in the real world, because there's a lot of advice out there on this topic that sounds authoritative and is mostly useless.

Let me start with where I'm coming from.

I've had my Gibson Les Paul Studio for well over 15 years. I've had my Fender Telecaster for roughly the same amount of time, and it's my primary guitar right now. I've played both of them live at hundreds of shows, including 4-hour sets where I find out exactly what a guitar is made of. I've recorded both of them in my home studio through the same signal chain, so I have a direct comparison that isn't theoretical.

This isn't a spec comparison. You can get that anywhere. This is what 15 years of actually playing these guitars teaches you.


WHAT THE TELECASTER ACTUALLY SOUNDS LIKE

The Telecaster has a reputation for being a country guitar. That reputation is not wrong but it's also wildly incomplete, because the Telecaster is one of the most versatile electric guitars ever made and it happens to be the guitar that a lot of indie and alternative rock was built on.

The defining characteristic of a Tele's tone is presence and clarity. The single-coil pickups, especially in the bridge position, have a bite and an articulation that cuts through a mix in a way that's almost surgical. Every note speaks clearly and separately. There's a top-end sparkle that sits in a frequency range where the guitar finds its own space without fighting the bass or the midrange of other instruments.

That clarity is a double-edged thing. It means the Telecaster is honest. If your picking hand technique is sloppy, the Tele tells you. If a chord isn't fully fretted, you'll hear it. There's nowhere to hide. That feedback loop made me a better player over years of using it as my primary guitar.

The Telecaster's bridge pickup is one of the most recognizable sounds in rock history. Loud, cutting, slightly aggressive but never heavy. It sounds like a guitar that has an opinion. The neck pickup opens up into something warmer and rounder that most people don't associate with the Telecaster because the bridge pickup dominates its reputation.

For indie rock, alternative, post-punk, and anything where you want the guitar to have definition and presence in the mix without becoming a wall of sound, the Telecaster is hard to beat. It fits into an arrangement and does its job without demanding all the attention.


WHAT THE LES PAUL ACTUALLY SOUNDS LIKE

The Les Paul is the other half of everything the Telecaster is not, and that's not a criticism.

Where the Tele is clear and present, the Les Paul is thick and warm. The humbucking pickups cancel the single-coil hum and in doing so they also round off some of the high-frequency edge that defines the Tele's sound. The result is a guitar that has weight. Sustain that seems to go on forever. A midrange richness that feels like it fills physical space.

The Les Paul rewards a big, committed playing style. Power chords on a Les Paul feel authoritative in a way that's hard to replicate on anything else. The guitar has a natural compression to its sound that makes it forgiving in ways the Tele isn't. The notes bloom instead of attack. Bends have a singing quality that's almost vocal.

My Les Paul Studio specifically is a more stripped-down version of the Standard, lighter in weight, without the binding and the fancy top. For a long time people dismissed the Studio as a budget option but working musicians have known for decades that the Studio is where Gibson's value actually lives. Same pickups, same neck, same fundamental tone. Less wood in places that affect weight more than sound.

Recording the Les Paul is a different experience than recording the Telecaster. The Les Paul's output is hotter, which means you have to watch your gain staging more carefully going into the interface. But when you get the level right, the recorded tone has a thickness that you don't have to work as hard to create in the mix. It's already there.


HOW THEY BEHAVE LIVE

This is where my experience playing long sets gives me something useful to add.

The Telecaster is a working musician's guitar. It's lighter than the Les Paul, which matters more than people who haven't played a 4-hour show might think. It stays in tune under heavy playing and temperature changes with a reliability that I've come to depend on. The controls are simple and accessible and the output is consistent night after night.

The neck feel on a Telecaster, depending on the specific instrument, tends toward a more comfortable playing position for long stretches. My Tele doesn't fight me. After three hours it still feels like an extension of my hand in a way that reduces fatigue.

The Les Paul is a heavier instrument and that weight accumulates over a long show. Shoulder and back strain is a real consideration if you're playing long sets regularly. A good guitar strap with some width and padding helps but it doesn't fully solve the weight problem. For shorter sets this is irrelevant. For a 4-hour show it's a real factor.

The Les Paul's tone at stage volume is something else, though. The way the humbuckers respond to a loud amp has a physical quality to it, a warmth and harmonic richness that the Telecaster at the same volume can't quite match. There are moments in a live set, certain chord voicings, certain sustained notes, where the Les Paul does something that makes you understand immediately why so many of the most famous recordings in rock history were made with one.


HOW THEY BEHAVE IN THE STUDIO

In my home studio I've recorded both guitars through the same interface, the same amp, the same signal chain, and the difference is significant enough that I don't reach for them interchangeably.

When I want definition, when I want the guitar to articulate clearly in the mix, when I'm layering parts and need each one to occupy its own space without clouding the others, I use the Telecaster. The clarity of the single-coil sound means that even stacked guitar parts stay readable.

When I want weight, when I want the guitar to anchor a section, when I need a riff to hit hard and sustain, I reach for the Les Paul. The humbuckers record with a body that the Tele can't fully replicate even with overdrive pushing the signal.

A technique I use often in my recordings is tracking the same part with both guitars and blending them. The Tele provides the articulation and the top-end presence. The Les Paul provides the weight and the warmth. Together they create a guitar sound that has both detail and body in a way that neither guitar achieves alone. This isn't a new trick. Studio engineers have been doing versions of this for decades. But experiencing it firsthand in your own recordings teaches you what each guitar is actually contributing in a way that reading about it never fully does.


THE REAL QUESTION: WHICH ONE SHOULD YOU GET

Here's my honest answer.

If you can only have one guitar and you're playing indie rock, alternative, or anything where the guitar needs to sit in a band context and serve the song without dominating it, I'd lean toward the Telecaster. The clarity and versatility are real. You can coax warmth out of a Tele's neck pickup and through a good amp. You can't as easily coax articulation and cut from a Les Paul that wants to be thick.

If you're drawn to big, sustained rock tones, power chords that feel physical, and a guitar that sounds expensive and full on its own without a lot of additional processing, the Les Paul is a serious instrument that rewards you for taking it seriously.

If you already have one and you're wondering whether you need the other, the honest answer is yes, eventually, if you're doing any serious recording. They're not redundant. They're complementary in a way that becomes more obvious the more time you spend in a studio.

The Telecaster and the Les Paul are the two poles of the electric guitar world, and most of the other guitars you've ever loved live somewhere on the spectrum between them. Understanding what each one actually does makes you a smarter player and a better recording musician regardless of which one you reach for first.

I reach for the Tele most days. But I've never been glad I don't have the Les Paul. That should tell you something.

Tony Oso

Stream Tony Oso at tonyosomusic.com/music and hear both guitars in the recordings.

Subscribe at tonyosomusic.com to stay in the loop on new music, new posts, and upcoming shows.
 

Vinyl Player Car: The Wild History and Modern Comeback of Spinning Records on the Road 

In today’s world of Bluetooth and digital streaming, it might sound absurd to imagine a vinyl player in a car. Yet, the concept of the vinyl player car isn’t as far-fetched—or as new—as you might think. Let’s spin back in time and explore how turntables made their way into automobiles, and whether they’re making a comeback in modern car culture.

The Origins of the Vinyl Player Car

Back in the 1950s and 1960s, car manufacturers were in fierce competition to offer the coolest tech. Chrysler, for example, introduced the Highway Hi-Fi in 1956. This built-in vinyl record player was designed to work with specially pressed 7-inch records that played at 16 ⅔ RPM—half the speed of traditional LPs. The goal? Longer playtime with fewer skips.

Other manufacturers, like RCA and Norelco, later introduced their own versions of in-car record players, though none ever truly took off. Despite clever engineering, the main issue was obvious: records don’t like bumps. Driving over potholes while trying to spin a disc didn’t make for the best listening experience.

Why the Vinyl Player Car Didn’t Last

While the idea was innovative, the execution had some serious flaws:

  • Skipping Issues: Even the most finely tuned suspension couldn’t stop a needle from jumping on a rough road.
  • Limited Selection: Most vinyl player cars could only play custom or proprietary records.
  • Convenience: With the rise of 8-tracks, cassettes, and eventually CDs, vinyl just couldn’t compete in a mobile setting.

By the 1970s, the concept of the vinyl player car was shelved—literally and figuratively.

The Modern Resurgence of Vinyl in Cars

Today, vinyl has made a major comeback—just not inside cars… yet. Vinyl collectors and audiophiles are always looking for new ways to enjoy their records, which has sparked curiosity: Could a modern vinyl player car actually work?

With improvements in:

  • Shock absorption technology
  • Anti-skip turntables
  • Vehicle suspension systems

…it’s technically possible. Some custom car modders have already tried. There are even YouTube videos showcasing vinyl records spinning in cars during idle—just don’t expect perfect fidelity while you’re cruising down the highway.


Best Alternatives for Vinyl Fans on the Road

If you love vinyl but still want to enjoy that analog warmth in your ride, here are some smarter options:

  • Rip Vinyl to Digital – Use a high-quality turntable to digitize your collection.
  • Bluetooth Turntable at the Campsite – Bring the vibe with you for tailgates or weekend trips.
  • Custom Vinyl-Themed Car Audio Systems – Some companies design systems with analog-style EQs and warm tone curves that mimic vinyl playback.

Final Thoughts: Will the Vinyl Player Car Ever Make a Comeback?

While the original vinyl player car is more of a quirky slice of automotive history than a practical audio solution, the dream lives on. With enough innovation (and maybe a smoother infrastructure), a new generation might yet see the vinyl record spinning on the dashboard.

Until then, it remains a fascinating idea—one that combines retro charm, niche technology, and pure musical passion.

What is a WAV Audio File and Why It Still Matters in Music Today 

When it comes to music production, from tracking in your bedroom to finalizing in a world-class studio, one file format keeps coming back like a reliable old friend—the WAV audio file. And if you’re serious about your sound (like I am), understanding WAV is non-negotiable. Whether you’re mixing raw drums or mastering your next single for release, this format plays a crucial role. Let’s rewind and explore the roots and relevance of the WAV file in music today.

The Origins of the WAV Audio File

The WAV file, short for Waveform Audio File Format, was developed in 1991 by Microsoft and IBM. Back then, the digital music revolution was just gaining speed, and WAV files quickly became a standard for storing uncompressed audio on PCs.

Unlike MP3s or streaming codecs like AAC and OGG that throw away data to save space, WAV files are lossless—meaning they capture every detail of the original recording. What you hear is exactly what was recorded. No corners cut. No information lost.

That’s why engineers and producers fell in love with it. It's clean. It's honest. It’s like the analog tape of the digital world.

Why WAV Files Matter in Today’s Mixing and Mastering

Fast-forward to today: we’re surrounded by music streaming services that prioritize convenience and compression. But behind the scenes—when it’s time to mix, master, and deliver high-fidelity tracks—the WAV format still reigns supreme.

In my own studio sessions, every multitrack stem starts as a WAV. When I recorded “Free” or laid down the gritty vocals for “Mistakes,” the last thing I wanted was digital artifacts messing with the emotion in the performance. WAV ensures the signal stays pristine from mic to mix.

Here’s why producers and engineers still rely on WAV:

  • Full Dynamic Range: No data compression = no compromise in quality.
  • Universal Compatibility: Works with all major DAWs (Logic, Pro Tools, Ableton, etc.).
  • Ideal for Mastering: WAV files preserve detail needed for EQ, compression, and stereo imaging decisions.
  • Broadcast/Streaming Requirements: Most distributors request 16-bit or 24-bit WAVs for upload.

When to Use WAV vs. Other Formats

There’s a time and place for everything. MP3s are cool for quick sharing. FLACs are great for archiving. But when it’s go time—recording, editing, mixing, or mastering—the WAV file is king.

Here’s how I usually roll:

  • Tracking & Mixing – Always 24-bit WAV, usually at 48kHz or higher.
  • Mastering – WAV is the final delivery format before converting to any streaming service specs.
  • Live Playback – I even run WAV stems for backing tracks in certain live setups when I want maximum clarity.

WAV Files Are Part of the Journey

As an independent artist, I wear a lot of hats—writer, producer, engineer. And every part of that process relies on audio that tells the truth. For me, WAV files represent a pure connection between intention and output. Every nuance of a guitar bend, every reverb tail, every breath—I want it all in there.

When fans listen to my music, I want them to feel everything—because that’s how it was recorded. And that’s the promise of WAV: no filters, no frills, just real music.

Final Thoughts

WAV audio files might not be flashy or trendy, but they’re a cornerstone of music production for a reason. They preserve what we put into the music—without compromise. And in a world of fast food content and algorithmic hits, that kind of purity still matters.

So the next time you hit record, make sure you're saving it right. Make it count. Make it WAV.

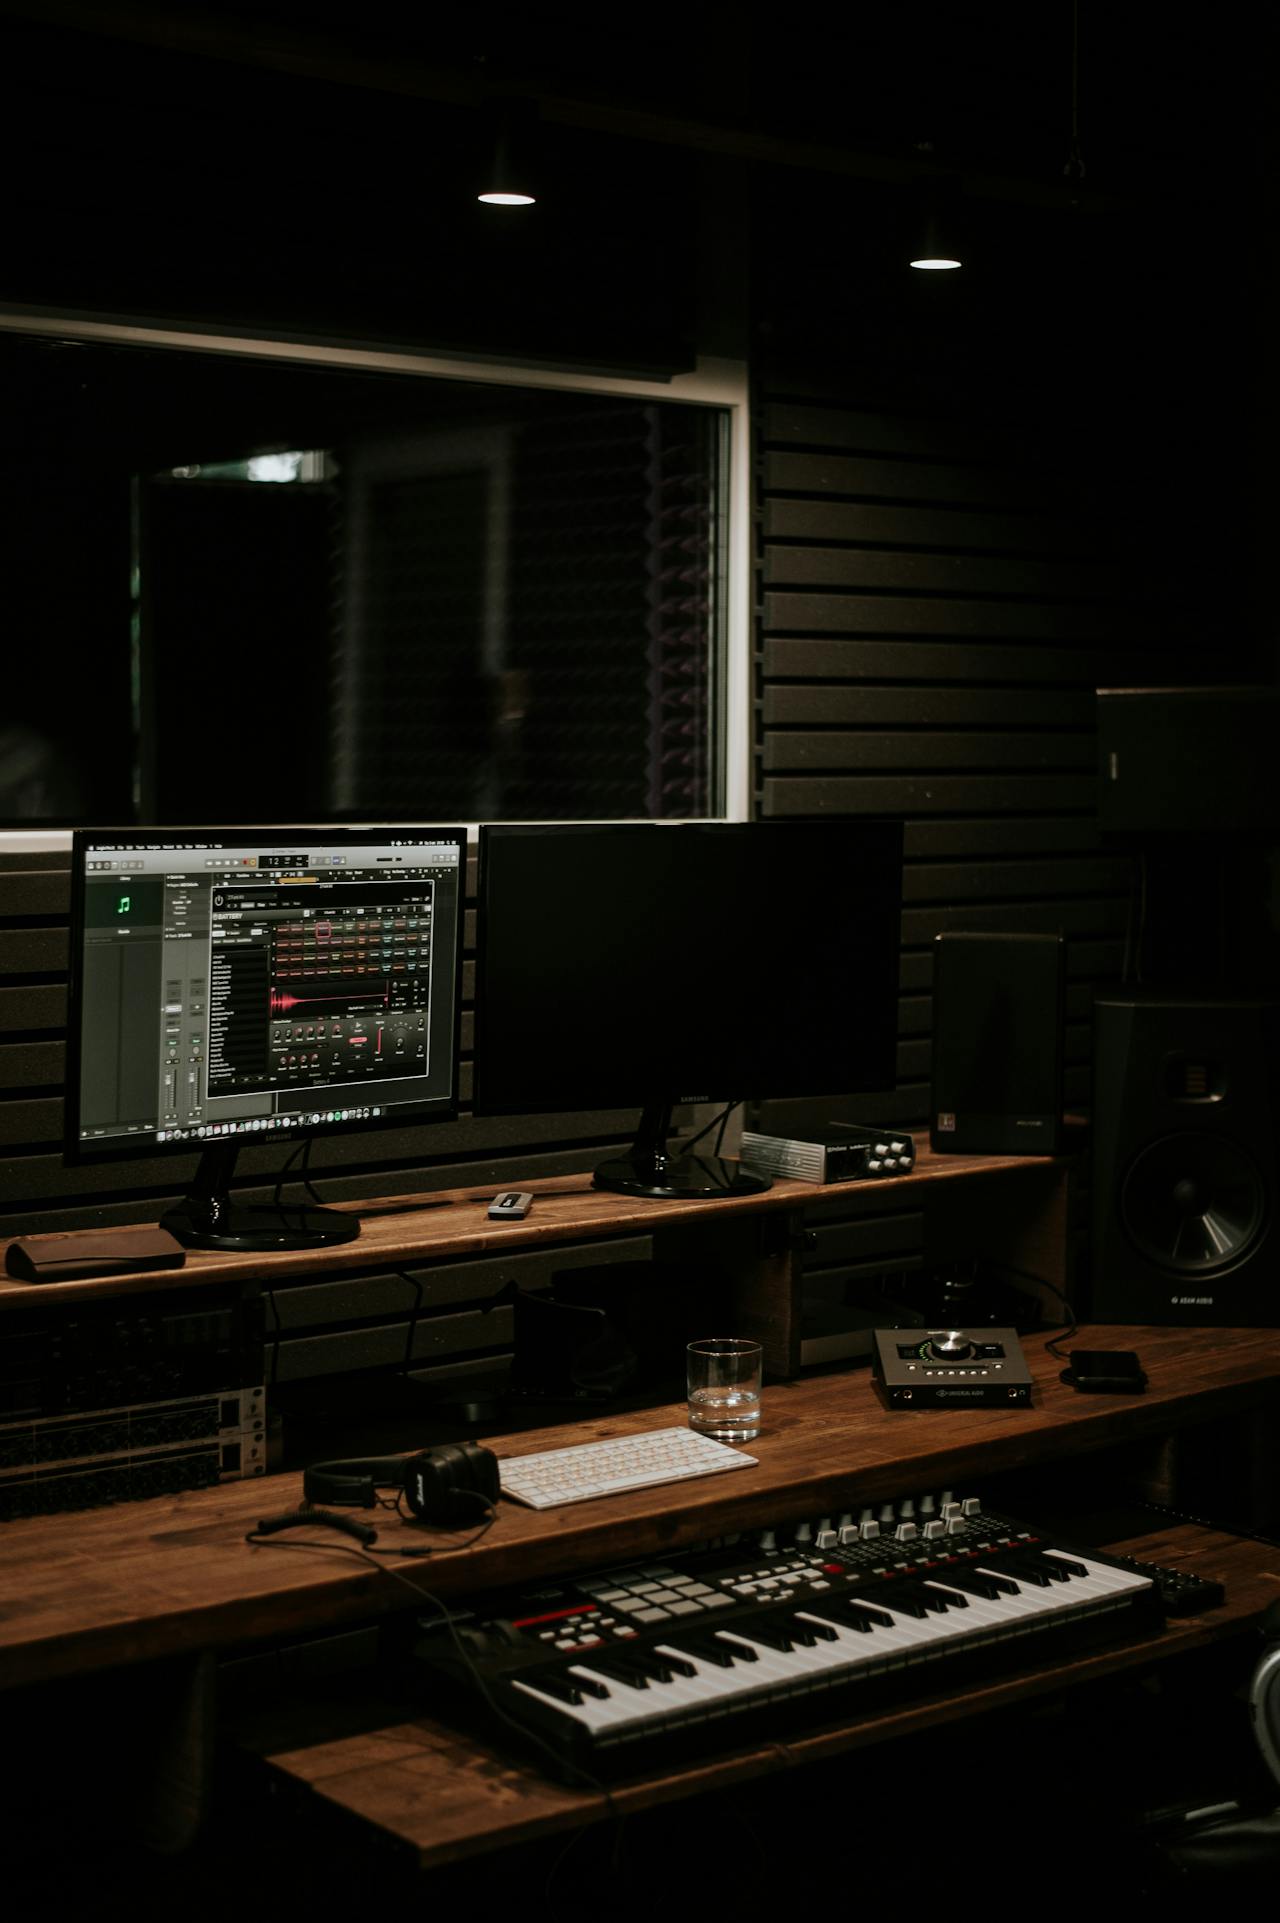
How I Built a Pro Home Studio as an Electrical Engineer (And What I'd Do Differently) 

I've been an electrical engineer for most of my adult life. I've spent years thinking about signal flow, noise floors, power distribution, and system design. And when I decided to build a home studio, I made nearly every mistake that someone without that background makes anyway.

That's the honest starting point for this post.

I want to give you what I wish I'd had when I started: a look at the home studio from the perspective of someone who understands both the music side and the engineering side, and is willing to tell you where those two worlds actually collide in practice.

Because they do collide. Constantly. And most home studio advice doesn't live at that intersection.


THE PROBLEM WITH MOST HOME STUDIO GUIDES

Go read any "how to set up a home studio" article online and you'll get the same list every time. Get an audio interface. Get some studio monitors. Acoustic foam on the walls. A decent microphone. Pick a DAW. Done.

That's not wrong. But it's also not the full picture.

What those guides miss is the layer underneath all of that, the infrastructure layer. The electrical environment your gear lives in. The acoustic physics of your room before you put a single piece of foam on the wall. The grounding situation in your house. The way cheap power strips introduce noise into your signal chain without you ever knowing it.

You can spend two thousand dollars on gear and have recordings that sound worse than someone who spent five hundred dollars but understood the room and the electrical environment first.

That's the version of this conversation I want to have.


START WITH THE ROOM, NOT THE GEAR

The single most important thing in your home studio is the room you put it in, and most people treat this as an afterthought.

Here's what's actually happening acoustically in a typical bedroom or spare room. When sound waves leave your monitors, they bounce off every parallel surface in the room, floors and ceilings, walls facing each other. Those reflections arrive at your ears milliseconds after the direct sound from the speakers. Your brain interprets some of those reflections as part of the original sound. So when you're mixing, you're not just hearing your music. You're hearing your music plus the acoustic signature of your room. Every EQ decision you make is contaminated by that signature.

The result is mixes that sound great in your room and fall apart everywhere else. You've probably experienced this. You spend three hours on a mix, it sounds perfect on your monitors, then you play it in the car and the low end is a mess.

The fix starts before you buy a single piece of acoustic foam.

First, treat the room for bass. Low frequencies are the hardest to control and the most ignored. Bass traps in the corners of the room, floor to ceiling if you can manage it, are the highest return investment in acoustic treatment. Not the thin foam triangles you see everywhere online. Real bass traps are thick, dense materials, rockwool or rigid fiberglass, that absorb the long wavelengths of bass frequencies that thin foam can't touch.

Second, break up the parallel surfaces. Bookshelves with irregular objects on them, furniture placed strategically, diffusion panels behind the mix position. You want to scatter reflections before they reach your ears, not just absorb them.

Third, control the first reflection points. These are the spots on the side walls, ceiling, and sometimes the back wall where sound bounces directly from your monitors to your ears. Acoustic panels at those points make an immediate, audible difference.

I didn't do any of this in order. I bought gear first, then acoustic foam that didn't really work, then wondered why my mixes didn't translate. Learn from that sequence of mistakes.


THE ELECTRICAL LAYER NOBODY TALKS ABOUT

This is where my engineering background actually paid off, and where I think I can offer something most studio guides can't.

Your home is not a clean electrical environment. It was designed to power appliances, lighting, and HVAC systems. Not recording equipment. The power coming out of your wall outlets has noise on it from everything else running in your house, refrigerators cycling on and off, light dimmers, HVAC systems, other electronics. That noise gets into your signal chain and shows up as hum, buzz, and a raised noise floor that compresses your dynamic range and muddies your recordings.

Here's what you can do about it.

The first and most important step is proper grounding. Most hum problems in home studios are ground loop issues. A ground loop happens when two or more pieces of equipment are connected to the same ground at different points in the electrical system, creating a loop that acts like an antenna for interference. The fix is to get everything in your studio running off the same outlet strip, so all your gear shares a single ground point. One power conditioner, one outlet, everything plugged into that.

The second step is a quality power conditioner. Not a surge protector. Not a cheap outlet strip with a fuse on it. A real power conditioner filters the AC power coming into your studio, reducing the noise on the line before it reaches your gear. The difference in a quiet room between a recording chain running off conditioned power versus a cheap power strip is measurable and audible.

The third thing to understand is that certain appliances in your house are electrical enemies of your studio. Refrigerators, dimmers, fluorescent lights, and anything with a large motor or switching power supply introduce noise onto your electrical circuits. If you can, put your studio on a dedicated circuit that doesn't share with any of those. A licensed electrician can run a 20-amp dedicated circuit for a few hundred dollars and it's one of the best investments you can make in your studio.

I have a dedicated circuit in my studio space now. The difference before and after was not subtle.


THE GEAR THAT ACTUALLY MATTERS

After you've addressed the room and the electrical environment, then you buy gear. In that order. Not the other way around.

I'm not going to give you a specific gear list because what works depends on your budget, your space, and what you're recording. But I'll tell you how I think about the major categories.

The audio interface is the most important single piece of gear you own. It's the front door of your studio. A mediocre microphone into a great interface sounds better than a great microphone into a mediocre interface. Get the best interface you can reasonably afford and don't cheap out here.

Studio monitors are the second most important thing, and they're also the most dependent on your room. A five-hundred-dollar pair of monitors in a properly treated room will give you more accurate results than a two-thousand-dollar pair in an untreated one. Treat the room first.

On the microphone side, I've used a lot of different options over the years for tracking guitar and vocals. The SM58 that everybody knows is there for a reason. It's not the most detailed or nuanced microphone in the world but it's consistent, durable, and handles high SPL without breaking a sweat. For recording my Telecaster and Les Paul in the studio I use a combination of a dynamic and a condenser to capture different parts of the frequency range and blend them in the mix.

My interface is a Focusrite. I've been happy with it. Clean preamps, low noise floor, and the driver stability has been solid. There are other great options at similar price points but the Focusrite lineup has earned its reputation among home studio producers for good reason.


WHAT I'D DO DIFFERENTLY

If I were starting over from scratch, here's the sequence I'd follow.

First, I'd choose the room with the acoustic properties in mind before I chose it for convenience. Asymmetrical dimensions are better than perfect squares. Higher ceilings give you more to work with. Rooms with irregular shapes scatter sound naturally in a way that square rooms don't.

Second, I'd address the electrical environment before I plugged in a single piece of gear. Dedicated circuit, quality power conditioner, all equipment on the same ground point.

Third, I'd put bass traps in the corners before anything else went on the walls.

Fourth, I'd buy the best interface I could afford and be patient with everything else.

Fifth, I'd mix through headphones and monitors together from the beginning instead of relying on only one. Training your ears on multiple playback systems from day one teaches you to make decisions that translate across environments.

The last thing I'd do is get obsessed with gear before I'd made a record. The best studio is the one you're using. Imperfect recordings made in an imperfect room are infinitely better than perfect recordings you never make because you're waiting for your setup to be ready.

I recorded some of my most personally meaningful songs, including "Tears" and "Going Down," in conditions that were far from ideal. The emotion in those recordings didn't care about the room treatment or the power conditioning. It just needed to get out. Get it out. Refine the environment over time.


WHAT THE ENGINEERING BACKGROUND ACTUALLY TEACHES YOU

Here's the real takeaway from all of this.

Audio engineering and electrical engineering are more related than most people realize. Both disciplines are fundamentally about controlling signal flow. Getting the signal you want from point A to point B with as little added noise and as much fidelity as possible. The tools are different but the thinking is the same.

Understanding that framing changed how I approached my studio. Every decision, from where I placed the monitors to how I ran my cables to what I plugged into what outlet, became a signal chain decision. Where is noise entering this system? Where is it leaving? What's the path of least resistance between the performance and the recording?

If you approach your home studio like a system instead of a collection of gear, you'll make better decisions and spend less money getting to a result that you're actually happy with.

That's the version of this conversation I didn't have access to when I started. I hope it saves you some of the trial and error it took me to get here.

Tony Oso

---

Stream my music at tonyosomusic.com/music

If you found this useful, share it with someone building their first home studio. And if you want to hear what this setup sounds like in practice, subscribe at tonyosomusic.com to stay in the loop when new music and posts drop.